

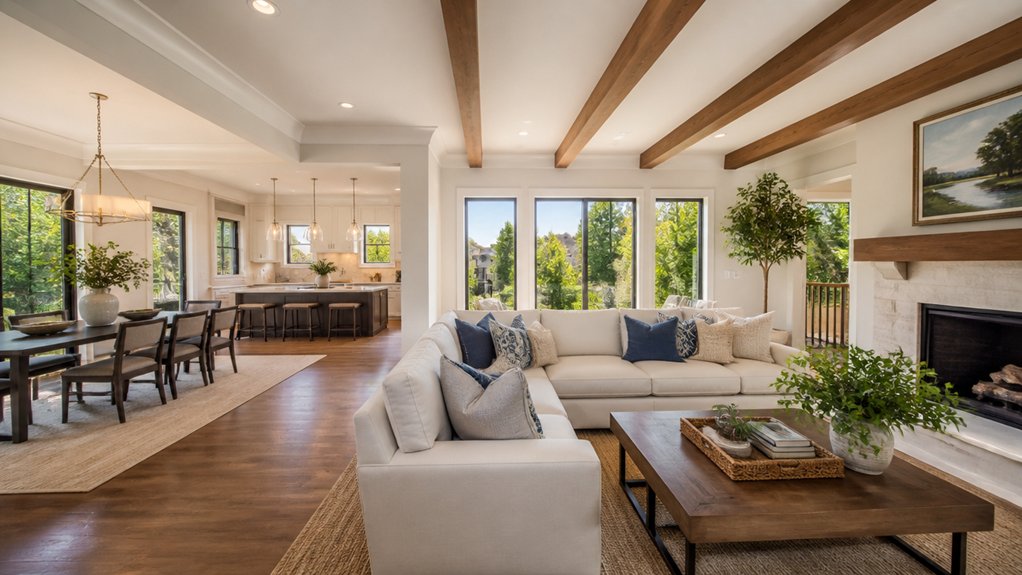
When you’re selling a home, buyers often see its photos before they ever step inside. Professional photography helps your listing stand out, shows the property’s strongest features clearly, and gives buyers a more accurate sense of the space. That can build confidence and encourage viewings sooner. But good results depend on more than a skilled photographer—how you prepare the property and choose the right images can make a measurable difference.
How Real Estate Photography Can Speed Up a Sale

Professional real estate photography can help your property sell faster by making it stand out in listings and giving buyers a clear, appealing first impression. Strong images encourage more qualified buyers to book viewings, helping you build early momentum and reduce time on the market.
Use photography as part of your Marketing strategies, not as a substitute for sound preparation. Ask your photographer to capture each room accurately, highlight useful features, and show how the home flows.
Then pair the images with a concise, factual description so buyers can assess whether the property suits their needs.
Photography also supports informed pricing tactics. When buyers can see the home’s condition and features clearly, you’re more likely to attract realistic offers and avoid delays caused by mismatched expectations.
Review enquiries and viewing feedback promptly; adjust your approach if interest remains low.
Make Property Photos Stand Out Online
To make property photos stand out online, lead with a bright, well-composed image that shows the home’s strongest feature at a glance. Choose a clean, uncluttered frame, and guarantee the lighting looks natural rather than overprocessed. Consistent colour and exposure across the gallery give your listing a polished, trustworthy feel.
Use varied formats to catch attention in crowded search results. Drone footage can add movement and context to a listing, while twilight photography creates a distinctive look for evening views. Select these options when they suit the property and audience, not simply for novelty.
Check how images appear on mobile screens, where many buyers browse. Crop carefully, keep horizons level, and upload sharp files at the platform’s recommended dimensions. A strong lead image and cohesive gallery can earn more clicks and encourage buyers to explore your listing.
Highlight a Home’s Best Features in Photos
Show natural light by photographing rooms when they’re brightest and opening curtains.
Draw attention to standout details, such as original fireplaces or quality finishes.
Use angles that convey spacious layouts without distorting the rooms.
Showcase Natural Light
Natural light can make a home feel more spacious, welcoming, and true to life. To capture it well, plan your shoot around each room’s orientation and the time of day when sunlight reaches it. A morning glow can flatter east-facing spaces, while later hours may suit rooms that face west. Check the forecast, too; bright overcast skies often provide soft, even illumination.
Open curtains and blinds, switch off interior lights when they create color casts, and position yourself to avoid blocking the window. Use a tripod when light levels are low, and expose for the room rather than letting bright windows dominate the frame.
If dappled sunlight creates distracting patches, wait for it to shift. Your balanced, natural-looking images help buyers judge space and atmosphere accurately.
Emphasize Standout Details
Once you’ve captured the home in balanced natural light, direct attention to the features that set it apart. Before shooting, identify details buyers might overlook in a quick viewing: a handcrafted staircase, original cornices, bespoke cabinetry, or a statement fireplace. Frame each feature clearly, choosing an angle that reveals its craftsmanship without cluttering the composition.
Luxury amenities deserve the same considered treatment. Photograph a wine cellar, spa bath, or integrated kitchen appliance in a way that shows its finish and function. Remove distracting objects, straighten furnishings, and check reflections before you press the shutter.
Use close-ups to convey materials and textures, then include enough context to show how each feature belongs in the home. These focused images give your listing a distinctive visual story and help buyers remember its strongest selling points.
Capture Spacious Layouts
To make a home feel spacious in photos, capture how its rooms connect rather than relying on wide-angle distortion. Position yourself where you can show a clear sightline through adjoining spaces, such as a kitchen opening onto a dining area. This gives viewers an accurate sense of the floor plan and helps them imagine moving through the home.
Use doorways, hallways, and aligned windows to create interior depth. Keep vertical lines straight, and choose a level camera height to prevent walls from appearing tilted.
When a room offers Architectural symmetry, frame its balanced features—such as matching windows or a centered fireplace—without forcing a misleading composition. Declutter surfaces and open doors to preserve visual flow.
Then review each image for stretched edges or obstructed views, and adjust your position before shooting again.
Help Buyers Trust What They See
Buyers trust property photos when they accurately represent the home they’ll visit. When you show rooms honestly, you set clear expectations and reduce the risk of disappointment at viewings.
Professional photography supports visual credibility by balancing careful composition with faithful colour, scale, and detail. Avoid misleading angles or edits that make spaces appear larger or brighter than they are; buyers may question the entire listing if images feel inaccurate.
Use trust building techniques such as presenting a consistent view of the property across every image and showing key features without exaggeration. Include a range of useful perspectives so buyers can understand how rooms connect and compare photos with the floor plan.
Accurate images help you attract better-informed enquiries, encourage confident viewing decisions, and build your reputation as an agent who communicates transparently. That confidence can help move serious buyers toward an offer.
Prepare Your Property for Better Photos
Before the photographer arrives, prepare each room to look clean, spacious, and true to life. Clear countertops, tuck away cables, remove rubbish, and store personal items that distract from a room’s features. Clean windows and mirrors so they reflect light without streaks. Arrange furniture to keep walkways open and help buyers understand each space’s purpose.
Use practical Staging strategies: add fresh towels in bathrooms, straighten bedding, and place a few simple accessories where they add warmth without clutter. Keep décor neutral and avoid hiding permanent features or signs of wear.
Apply effective Lighting techniques by opening curtains, raising blinds, and switching on lamps in darker corners. Replace burnt-out bulbs and use consistent colour temperatures where possible. Check each room from the doorway; small adjustments can make your home feel brighter, larger, and more inviting in photographs.
Choose a Real Estate Photographer for Your Listing

Choose a photographer whose portfolio shows bright, accurate images that suit your listing.
Compare packages for the services you need, including floor plans or video, and confirm what’s included.
Check their local experience to make certain they know how to present properties in your market.
Review Photography Portfolios
A photographer’s portfolio shows how well they can present a home, not just take attractive pictures. As you review examples, look for bright, balanced images that reveal each room’s size, layout, and best features. Strong artistic composition guides a buyer’s eye without making spaces feel staged or distorted.
Creative angles can add interest, but they should still represent the property accurately.
Check whether the portfolio includes homes similar to your listing, such as compact flats, family houses, or period properties. Consistent quality across different interiors suggests the photographer can adapt to varied light and layouts.
Notice how they handle windows, shadows, and colour; poor exposure can hide details or misrepresent finishes. Ask to see complete property galleries, not only selected highlights. This helps you judge whether every image supports a clear, appealing impression of the home.
Compare Service Packages
Once a photographer’s portfolio meets your standards, compare what each service package includes. Check whether the quoted fee covers interior and exterior images, editing, travel, and delivery, or whether you’ll pay extra for these essentials.
Ask how many finished photos you’ll receive and when you can expect them; a low price may not suit a listing if it limits image selection or delays publication.
Review the Pricing options carefully, including add-on fees and discounts for multiple properties. Then consider Service customization: can you request twilight shots, floor plans, virtual tours, or images formatted for specific listing platforms?
Choose a package that matches the property, your marketing plan, and your budget—not simply the cheapest offer. Confirm usage rights and cancellation terms in writing before booking, so you know exactly what you’re buying.
Check Local Experience
Local experience can help a photographer show your listing at its best. Choose someone who understands your local market and knows which features buyers notice in your area. A photographer with neighborhood familiarity can frame a home in context, highlighting nearby parks, distinctive architecture, or convenient amenities when they strengthen the listing.
Ask candidates how often they work in your area and request examples of nearby properties they’ve photographed. Review those images for accurate color, thoughtful composition, and a consistent style that suits your home.
You can also ask how they adapt shoots to local light, weather, and property types.
Don’t assume proximity alone guarantees expertise. Check recent client reviews and confirm the photographer can meet your schedule. Their local insight should improve the images, not distract from the home’s strongest selling points.
Turn More Listing Views Into Viewings
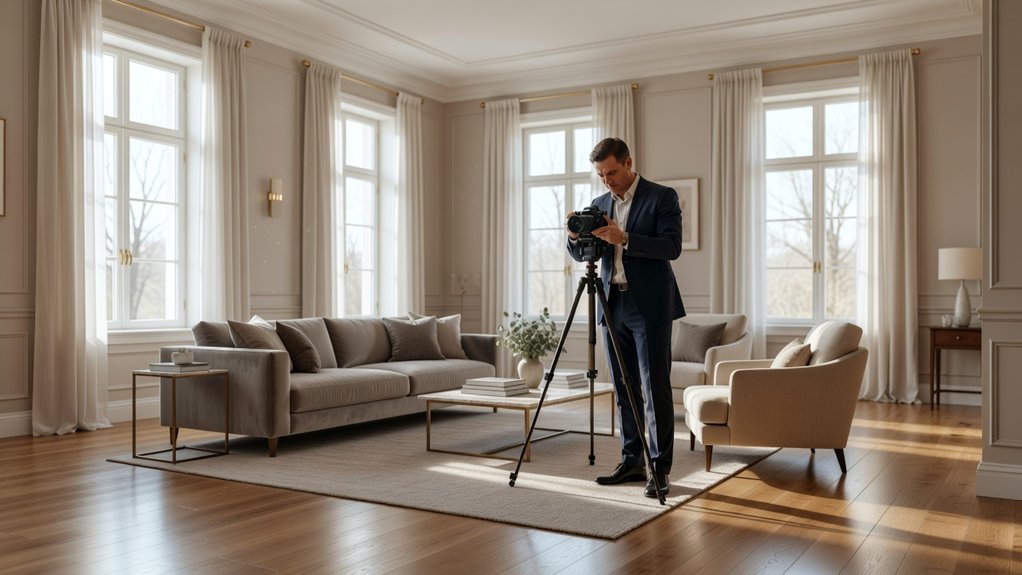
Strong listing photos do more than earn clicks; they help buyers picture themselves in the property and take the next step. When your images show natural light, useful room layouts, and appealing details, buyers can judge whether a home suits their needs before booking. That confidence can turn online interest into qualified viewings.
Use a Virtual tour to help prospects explore the flow of the property at their own pace, especially when they’re comparing several listings. For larger homes or properties with notable grounds, drone footage can reveal scale and setting that interior images can’t capture.
Keep every visual accurate and current; misleading angles may attract clicks but disappoint visitors. Pair strong photography with clear descriptions and a simple viewing call to action. You’ll make it easier for serious buyers to move from browsing to booking.
Frequently Asked Questions
How Much Does Professional Estate Photography Typically Cost?
Professional estate photography typically costs £100–£300 per property in the UK, depending on location, home size, and the number of edited images.
You’ll often pay more for premium packages that include drone shots, Property staging, or Virtual tours.
Ask photographers for itemised quotes and check whether editing, travel, and usage rights are included.
For an accurate estimate, compare local providers and match the package to your property’s needs and marketing budget.
How Long Does a Property Photography Session Take?
A property photography session typically takes 1–3 hours, depending on the home’s size, condition, and number of rooms. You can expect a smaller flat to take about an hour, while a large house may need several hours.
Your photographer will factor in preparation, lighting techniques, equipment selection, and time for exterior shots.
To keep the appointment efficient, tidy rooms beforehand, open curtains, and guarantee the photographer can access every space they’ll photograph.
Can Professional Photos Be Used Across Multiple Property Portals?
Yes, you can use professional property photos across multiple portals—because making strong images work harder is hardly a crime. Check each portal’s image specifications, licensing terms, and any exclusivity agreement before uploading.
Keep file sizes, dimensions, and branding consistent, and tailor captions to each audience. You can also reuse approved images for Virtual tours and social media, extending their reach while keeping your property marketing polished, accurate, and compliant everywhere you publish.
Who Owns the Rights to the Property Photographs?
The photographer usually owns the copyright to property photographs unless your contract says otherwise. You’ll typically receive a licence defining where, how, and how long you can use the images.
Check whether it covers your website, social media, and multiple property portals, and whether it includes Drone footage.
Don’t assume payment transfers ownership: confirm the Photo licensing terms in writing before publishing, and ask about renewal fees or restrictions if you need continued use.
How Soon Will the Finished Images Be Delivered?
You’ll usually receive your finished images within 24 to 48 hours, though your photographer’s Delivery timeline may vary with the shoot’s size and editing workload. Ask for a confirmed deadline when you book, especially if you’re working toward a listing launch.
Image editing typically includes exposure, color, and perspective adjustments, so allow time for careful finishing. Your photographer can also explain whether urgent delivery is available and whether it carries an additional fee.
Leave a Reply