


A renovation can unravel like a cabinet assembled without checking the instructions: one missed measurement can trigger delays, extra costs, and a layout you regret. You can avoid many of the biggest interior renovation mistakes by setting a clear scope, realistic budget, and practical timeline before work begins. Choose durable materials, plan around your daily routines, and keep communication with your contractor direct. But even a solid plan can fail if you overlook one essential step.
Plan Your Interior Renovation Before Work Begins
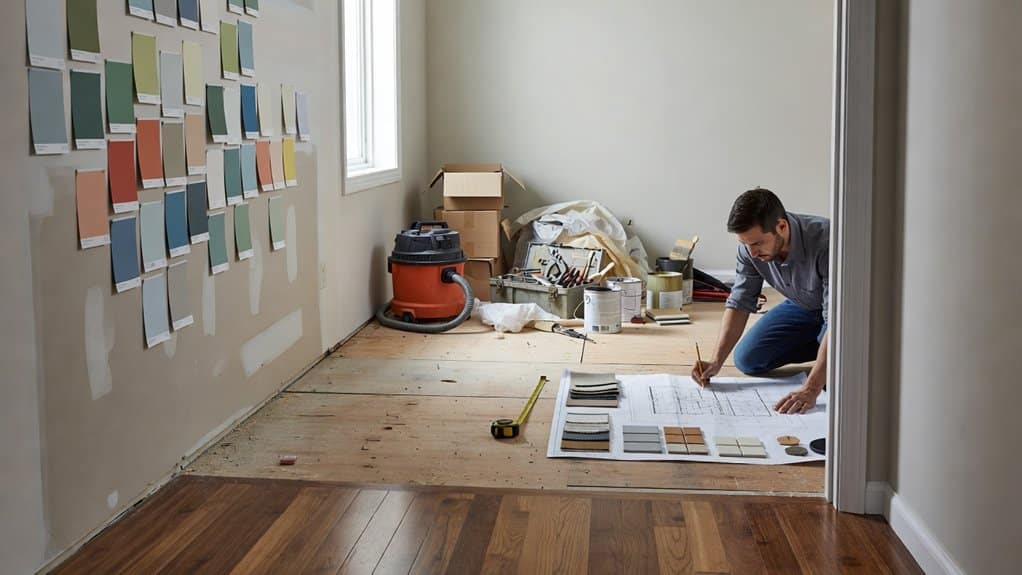
Before work begins, define your renovation’s scope, budget, and timeline. List the rooms you’ll update, the changes each needs, and the decisions you must make before contractors arrive. Separate essential work from optional upgrades so you can keep the project focused if plans shift.
Gather design inspiration, but judge every idea against your home’s layout, daily routines, and existing features. Choose color schemes and finishes early, then record product names, measurements, and specifications in one shared document. This keeps selections consistent and helps prevent rushed substitutions.
Confirm who’ll handle each task, when materials must arrive, and how work will affect access to your home. Check permits, building rules, and contractor availability before setting dates. A clear plan gives you control, reduces avoidable delays, and helps everyone work toward the same result.
Set a Realistic Renovation Budget and Contingency
Set a realistic renovation budget by pricing labor, materials, permits, and temporary living costs—not just the visible upgrades. Ask contractors for itemized estimates, then compare the scope, exclusions, and payment schedules. Don’t treat the lowest bid as the best value; unclear allowances can lead to costly surprises.
For effective budget planning, add a contingency of about 10 to 20 percent, adjusting it for your home’s age and the project’s complexity. Keep this reserve separate from your planned spending, and use it only for genuine surprises, such as hidden damage or required code upgrades.
Track every commitment and payment so you can spot overruns early.
Your material selection affects costs, but don’t spend the contingency on upgrades. If estimates exceed your limit, revise the scope before work begins rather than relying on credit or cutting essential work.
Choose Materials That Suit Your Household
Choose materials for the way your household actually lives, not just for how they look in a showroom. If you have children, pets, or frequent guests, prioritize material durability in floors, counters, and upholstery. Ask suppliers about scratch resistance, stain removal, water exposure, and repair options; attractive samples won’t reveal how a finish holds up over time.
Compare maintenance requirements, too. A surface that needs frequent sealing or specialized cleaning may become a burden, even if its initial price fits your budget.
Then assess aesthetic compatibility with your home’s existing features and the overall look you want. Request samples and view them in your rooms under natural and artificial light. Check how colors and textures work together before ordering.
Balancing resilience, upkeep, cost, and appearance helps you choose materials you’ll appreciate long after renovation ends.
Plan for Layout, Storage, and Daily Routines
A renovation can look polished and still frustrate you if its layout doesn’t support daily life. Before choosing finishes, map how you move through each room. Note where you enter, drop bags, prepare meals, and gather, then make sure pathways stay clear.
Thoughtful Furniture placement can improve circulation and keep frequently used areas accessible; measure pieces before you buy or reposition them.
Plan storage around what you actually own and where you use it. Put everyday items within easy reach, and reserve less accessible cabinets for seasonal or occasional belongings.
Don’t rely on attractive built-ins alone; confirm they’ll hold your household’s real needs.
Include Lighting design in your routine planning, too. Layer task, ambient, and accent lighting so you can work, relax, and navigate safely at different times of day.
Hire an Interior Renovation Contractor You Trust
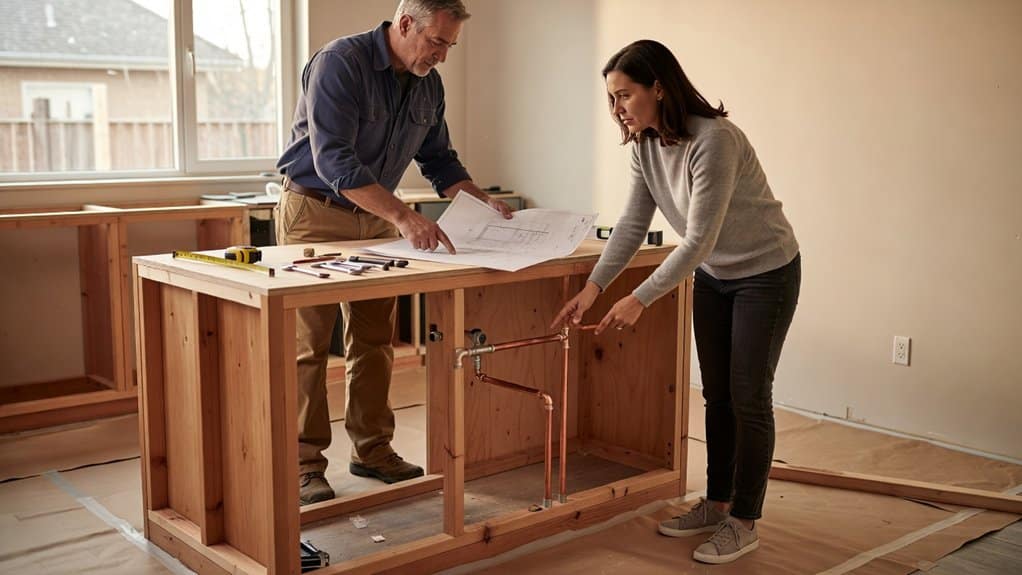
Before work begins, verify that your contractor is licensed and insured, has experience with renovations like yours, and can provide recent references. Call those references and ask whether the crew stayed on schedule, communicated clearly, and handled problems fairly. Check recent project photos, then meet the person who’ll supervise your job. Clear communication and honest answers show the trustworthiness importance you shouldn’t overlook during contractor selection.
Get a detailed written estimate that lists labor, materials, payment milestones, and what the price excludes. Ask how the contractor handles change requests, delays, and unexpected costs; insist on written approval before extra work starts.
Compare several qualified bids, but don’t choose on price alone. A low offer may signal rushed work or missing details. Trust your judgment: if answers feel evasive or pressure tactics appear, keep looking.
Confirm Permits and Measurements Before Work
Confirm which permits your renovation requires with your local building department before work starts; requirements vary by project and location. Ask what plans, inspections, and approvals you’ll need, and secure permits before demolition or installation. Permit pitfalls can include assuming a contractor has filed paperwork, overlooking electrical or plumbing approvals, or starting work before approval. Verify who’s responsible, then keep copies of permits and inspection records.
Measure every room, opening, and fixed feature before ordering materials or fixtures. Check dimensions in more than one place; walls and floors aren’t always square or level. Record ceiling heights, door swings, window positions, and appliance clearances. Measurement mishaps can leave cabinets, flooring, or furniture unusable—and replacement orders can delay your renovation.
Compare measurements with product specifications, and recheck critical dimensions before you commit.
Coordinate With Your Contractor to Avoid Costly Changes
Confirm every plan and material choice with your contractor before work begins.
If you change your mind, tell them promptly so they can limit delays and extra costs.
Don’t assume a casual conversation updates the approved scope—get revisions documented.
Confirm Plans Before Work
Once demolition starts, even a small change can trigger extra labor, delays, and new costs. Before work begins, review every decision with your contractor and make sure the plans reflect what you actually want. Confirm dimensions, materials, finishes, lighting, outlets, and fixture locations; vague assumptions can lead to expensive rework.
Check how your color schemes relate to flooring and fixed finishes, and verify furniture placement against room measurements, door swings, and walking paths. Ask your contractor to identify any conflicts between drawings, product specifications, and site conditions.
Resolve open questions before approving the final scope, schedule, and budget. Keep a dated copy of the approved plans and selections so you and your contractor share the same reference. A thorough sign-off gives the crew clear direction and helps protect your renovation budget.
Communicate Changes Promptly
If you want to change something after work begins, tell your contractor as soon as possible. Even a small adjustment can affect materials, labor, scheduling, and inspections. Waiting until the crew reaches that stage may mean rework, added costs, or delays.
Explain what you want, why it matters, and when you need the decision made.
Ask your contractor to outline the consequences before approving the change. For example, shifting your color palette could require new paint or tile, while revising the lighting design may involve wiring changes and permit updates.
Get the revised scope, price, and timeline in writing, then confirm your approval before work proceeds. If you’re unsure, discuss practical alternatives that preserve your goals without disrupting completed work.
Prompt, clear communication helps you control costs and keep the renovation moving.
Frequently Asked Questions
How Can I Keep Pets Safe During an Interior Renovation?
Keep pets away from renovation areas by setting up a secure, quiet room or arranging care elsewhere. Close doors and use sturdy barriers; don’t rely on signs or supervision alone.
For practical pet proofing tips, remove tools, nails, paint, cords, and debris from their reach, and store chemicals in sealed cabinets.
Schedule noisy work when pets are elsewhere.
These pet safety precautions reduce stress and prevent injuries, escapes, and accidental poisoning throughout the project.
What Should I Do if Renovation Work Uncovers Mold or Asbestos?
If renovation work uncovers mold or suspected asbestos, stop immediately, keep people and pets away, and don’t disturb the material. Seal off the area if you can do so safely, then contact qualified professionals.
Arrange mold remediation for confirmed mold and licensed asbestos removal for suspected asbestos; never scrape, sweep, or vacuum it yourself.
Ask for testing, containment, and clearance documentation before work resumes, and notify your contractor and insurer promptly.
How Can I Reduce Dust and Noise in the Rest of My Home?
You can limit dust and noise by sealing the work zone before crews begin. Ask your contractor to hang plastic barriers, cover vents, and use a HEPA air scrubber for dust reduction.
Keep doors closed and create a clear route for workers to avoid tracking debris.
For noise control, agree on work hours, shut nearby windows, and move family activities to distant rooms.
Wear earplugs when needed, and check barriers daily for gaps.
Where Should I Stay if the Renovation Makes My Home Unlivable?
If your home becomes unlivable, arrange Temporary housing in a nearby hotel, furnished rental, or with family or friends.
Choose a place that fits your budget, commute, and renovation timeline; confirm cancellation terms in case work runs late.
Ask your contractor for recommendations on local short-term rentals, but verify costs and availability yourself.
Before booking, check whether your homeowner’s insurance covers additional living expenses, and keep receipts if you plan to submit a claim.
How Do I Document Renovation Defects After the Work Is Complete?
Document defects promptly with dated photos, videos, and written notes.
For effective renovation documentation, capture each issue from several angles, include a wider view showing its location, and record when you noticed it.
Compare the work with your contract, plans, and applicable warranties.
Send a clear defect reporting email to your contractor, listing each problem, its location, and requested correction.
Keep copies of all messages, inspection reports, and repair records, and request a written response and completion schedule.
Leave a Reply